When you’re hauling heavy loads across Ontario highways, trailer brake performance is critical for safety and compliance. If your brakes start making noise, lose responsiveness, or fail inspection, you need a reliable trailer brake repair service in Toronto fast.
Why Trailer Brake Maintenance Matters
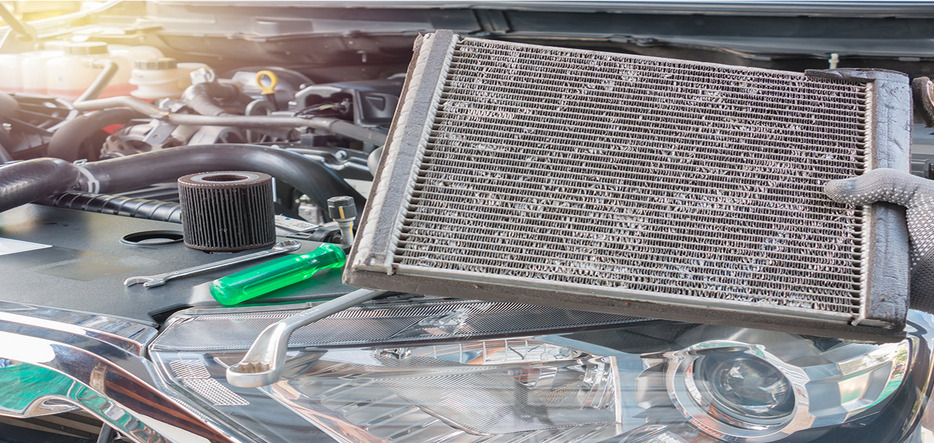
Trailer brakes endure constant wear and tear from stop-and-go traffic, long hauls, and changing weather. Over time, brake pads, drums, or air lines can wear out, leading to:
- Reduced braking power
- Uneven brake response
- Safety risks on the road
- Costly downtime for your business
Regular inspections and maintenance can prevent breakdowns and help extend the life of your braking system.
Common Trailer Brake Problems
Some of the most frequent brake issues we repair in Toronto include:
- Air brake leaks or low-pressure warnings
- Seized brake chambers or slack adjusters
- Worn-out brake shoes and drums
- ABS system faults or sensor issues
- Electrical connection failures
If you notice squealing, pulling, or delayed stopping, it’s time for a professional inspection.
Mobile Trailer Brake Repair in Toronto
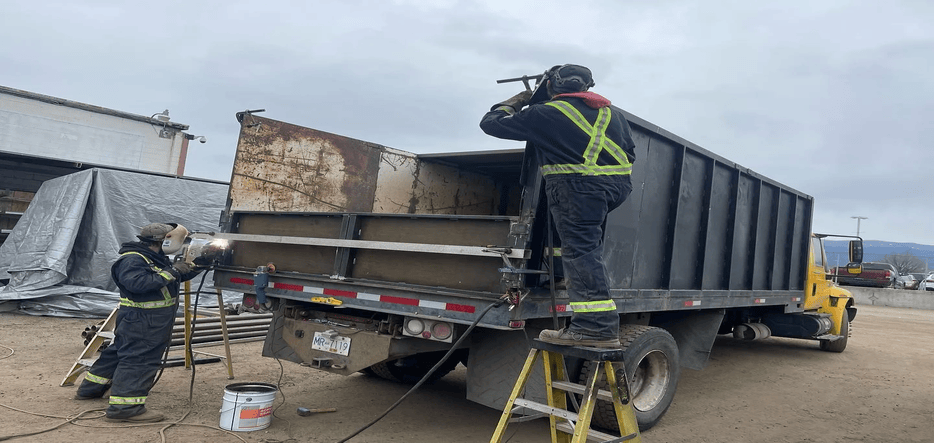
Our 24/7 mobile trailer brake repair service covers Toronto and surrounding areas. We come directly to your location — whether you’re stuck on Highway 401, at a loading dock, or parked at a rest area. Our certified mechanics bring all the tools and parts needed for on-site brake diagnostics, replacement, and testing.
Why Choose Us
- Fast response times across Toronto
- Certified and experienced trailer mechanics
- Emergency roadside assistance
- Affordable rates and transparent quotes
- Fleet maintenance plans available
We service all types of trailers — dry vans, reefers, flatbeds, dump trailers, and heavy-duty commercial units.
Stay Safe and Road-Ready
Don’t wait until your trailer brakes fail on the highway. Schedule your trailer brake inspection and repair in Toronto today. Proper brake maintenance ensures your loads arrive safely, your drivers stay protected, and your business keeps moving.
Contact us now for 24/7 mobile trailer brake repair service anywhere in the Greater Toronto Area.


